Exposure Stacking – What is it and what is the best technique to merge images?
Exposure stacking is a process to combine multiple photographs taken at different exposure levels to create a composite image with a wider range of tones and details than what a standard photograph can capture. This technique is useful when photographing a high contrast scene that cannot be captured in a single shot.
This article provides a breakdown of various exposure stacking techniques with the pros and cons of each, and covers:
What is exposure stacking?
What are the exposure stacking techniques?
How do you create exposure-stacked images?
Which blending technique is better?
What is Exposure Stacking?
Exposure stacking is part of a concept in photography that also includes bracketing images to capture the full tonal range in challenging lighting conditions.
Firstly, image bracketing is used to capture a series of photographs of the same scene at different exposure levels. These exposures cover a range from underexposed (darker) to overexposed (brighter). The purpose of bracketing is to ensure that all tonal values are captured. Ideally, at least one of the shots captures the scene correctly, even if the initial exposure settings are not ideal. However, in very challenging conditions, the full tonal range can be captured over multiple images where the underexposed image captures the brightest part of the scene while the overexposed image captures the darkest part of the scene. Typically, photographers use auto exposure bracketing (AEB) or manually adjust settings to create the bracketed set.
If none of the images captured the scene adequately, then exposure stacking is used to combine the bracketed images into a single composite image. Software tools merge the bracketed shots to create an image with a wider dynamic range. The resulting exposure-stacked image retains details in both highlights and shadows, providing a more balanced representation of the scene.
Exposure stacking is also referred to as image merging or image blending, although both these terms can also refer to other photography concepts (like focus stacking to combine images taken at different focus distances to create an image that is sharp from the foreground to the background). And the acronym HDR, which stands for High Dynamic Range, is also commonly used as part of this process.
I have covered image bracketing in detail here. The remainder of this article explains the exposure stacking step.
What are the Exposure Stacking Techniques?
I will cover the following exposure stacking techniques in this article:
Use the Underexposed Image. This is not actually an exposure stacking technique, because you’re not combining images. However, sometimes, you don’t have to merge images, because your camera will have captured the tonal range of the scene sufficiently. Depending on the quality of your camera’s sensor, the shadow details in an underexposed image can often be recovered sufficiently to give good results.
Use HDR (High Dynamic Range) Software. Adobe Lightroom (and most other photo editing software) has a built-in function to merge images. All you need to do is select the images you want to merge and Lightroom will automatically create a new ‘HDR’ image that combines the data of the original images. It’s easy to use but it can sometimes lead to ‘ghosting’ (blurry objects due to movement in between shots).
Blend Images Manually. Blending images manually is a more advanced technique, involving merging images using masking techniques in software like Photoshop. It takes more effort, but ultimately delivers the best results.
Another technique that I won’t cover here is to use the In-Camera HDR Function. Many cameras have a built-in HDR function where the camera will automatically carry out exposure-bracketing and merge the images to create an HDR image of the scene. In many cases, the camera also retains the original images, so you can decide during post-processing whether to use the camera’s HDR image or whether to use one of the techniques described in this article. Note that cameras usually save the HDR image as a JPEG file rather than a RAW file (that’s the case with Canon and Nikon), which means you lose all the benefits of shooting in RAW (see here for a reminder why RAW is better). Since this is not a post-processing technique, I won’t discuss it further in this article.
The Exposure Stacking Workflow
Here are the steps to create exposure-stacked images:
1) Capture Bracketed Shots:
First, capture a series of bracketed shots of the same scene. These shots should cover a range of exposures, from underexposed to overexposed.
You can achieve this by adjusting the shutter speed (or using auto exposure bracketing) while keeping the other settings constant.
You can read more about this step here.
2) Select Your Images:
Organise your images in your preferred photo library or editing software. For this article, I’ll assume that you use Adobe Lightroom.
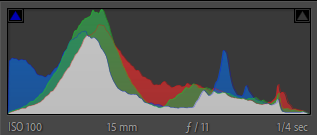
Select the images you want to process further. Always check the histogram of the images to see if you need to perform any merging. If you have an image that doesn’t have any clipped shadows or highlights, exposure stacking may not be necessary. In fact, even if there is some clipping (particularly in the shadows) it may be possible to recover the image sufficiently.
At this point, I suggest you carry out tonal adjustments to your images to see if you can create one with a well-balanced histogram and without clipping. Note that it’s possible that an image has a lack of shadow or highlight detail even though the software indicates that there is no clipping. This particularly applies to the highlights, where you can end up with a white area in your image that has lost its colour and detail. In that case, you should aim to combine images.
3) Choose the Exposure Stacking Technique
There are three exposure stacking techniques to choose from, as follows:
Technique One: Use the Underexposed Image. You can choose to not blend the images and only use the underexposed image. Depending on the quality of your camera’s sensor, the shadow details in an underexposed image can often be recovered sufficiently to give good results.
Technique Two: Use HDR (High Dynamic Range) Software. Adobe Lightroom has a built-in function to merge images. This technique creates a new, composite HDR image that combines the data of the exposure-stacked images so that you end up with one image with a wider tonal range.
Technique Three: Blend Images Manually. Blending images manually is a more advanced technique, involving combining images using masking techniques in software like Photoshop. It takes more effort, but ultimately delivers the best results.
4) Combine Your Images:
The workflow now has different steps depending on your chosen exposure stacking technique.
4a) Technique One: Use the Underexposed Image.
There is usually (significantly) more noise in the shadow areas of an underexposed image when compared with images that are not underexposed. However, this can be reduced by using the Denoise feature in Lightroom (or another preferred noise removal tool).
But be aware that even after reducing the noise from the image, there may still be a lack of detail/texture/sharpness in the underexposed image when compared with a manually merged image.
4b) Technique Two: Use HDR (High Dynamic Range) Software.
Select the images you want to merge, and then select Lightroom’s Photo Merge option. This will open a dialogue where you can set the merge options including whether to align the images (of course you do) and the Deghost amount. Upon clicking the ‘Merge’ button, Lightroom will create a new HDR image (in DNG format) that it will automatically add to the library.
Note that Lightroom will not copy the adjustments you made to the source images to the new HDR image. So, you may want to copy the adjustments you made across to this image and refine them where necessary. Alternatively, you can start afresh.
But be aware that some ghosting may have occurred during the merging process. Ghosting occurs when merging multiple exposures that contain movement. In that case, elements that move, like animals, waves, and grass, appear as semi-transparent or ghost-like artifacts in the image. One way to reduce the ghosting effect is to merge fewer images (the overexposed image may not be required) and adjust the Deghost amount during the merging process. When ghosting occurs, you may not be able to remove it completely.
4c) Technique Three: Blend Images Manually.
Choose an image that will act as the base image for your adjustments. I suggest you use the image that has the most balanced histogram.
Apply tonal adjustments to create a balanced image that has minimal (and ideally) no clipping in the shadows and highlights.
At this point, you can also apply some other basic settings including white balance, colour profile, and lens corrections, but I suggest that you do not apply extensive edits yet.
Copy the adjustments you have made to the base image to the other images. You can use the Synchronise feature in Lightroom to achieve that. Each of these images will need some further adjustments so that the exposure matches the base image. You can achieve this by increasing the exposure for the underexposed image and reducing the exposure for the overexposed image.
You may find that some further small adjustments are necessary to further recover details. For instance, the highlight details in the underexposed image may need some refinement to ensure all details are visible. Make sure you copy any adjustments you have made to the other images.
Once you have completed these tonal adjustments, you open these images in Photoshop as layers and blend them together using masking techniques. Typically, you only need to blend in a small portion of the underexposed image to include highlight detail in the ‘base’ image (e.g. the sky or the sun). Similarly, you can blend in the shadow areas from the overexposed image depending on the shadow details in the base image.
The newly created image will be saved in a Photoshop format such as a TIFF (i.e. it will not be a RAW image anymore) and will automatically be added to your Lightroom catalogue. You can then perform further edits in Lightroom or Photoshop.
5) Complete Your Image
At this point, you’ll have one image that has basic tonal adjustments applied to it. You can now make further adjustments in Lightroom or Photoshop.
Which Exposure Stacking Technique is Better?
I have used all three techniques extensively for my photography, and have found that although the results are similar, there are pros and cons with each technique that I will describe below using a real live example.
I will explain the differences of these three techniques in detail using 3 photos I took with a Canon EOS R5 fixed to a tripod. I used the camera’s auto exposure bracketing (AEB) function to capture these images 3 stops apart resulting in a severely underexposed photo, a ‘standard’ photo, and a severely overexposed image. The RAW images looked like this:
Underexposed Image (‘-3 EV’)
An image that was underexposed by 3 stops. Let’s refer to that one as ‘-3 EV’. Without any exposure adjustments, the histogram reveals clipping of the shadows as well as a small amount of clipping of the highlights (the centre of the sun). Exposure adjustments in Lightroom show that both the clipping in the shadows and highlights can be fixed.
Normally Exposed Image (‘0 EV’)
An image that was exposed according to the camera’s light meter set to evaluative metering. Let’s refer to that one as ‘0 EV’. Without any exposure adjustments, the histogram reveals a small amount of clipping of the shadows that can be easily recovered. However, it does show significant clipping of the highlights (the sun and sky). Some exposure adjustments in Lightroom show that these highlights cannot be fully recovered, as it leaves a white area where the sun should be.
Overexposed Image (‘+3 EV’)
An image that was overexposed by 3 stops. Let’s refer to that one as ‘+3 EV’. Without any exposure adjustments, the histogram reveals significant clipping of the highlights, as the entire sky is blown-out. Exposure adjustments in Lightroom show that the clipping of the highlights cannot be fixed, as the sky details are not recoverable.
Note that apart from applying the Adobe Color profile, basic sharpening, and lens corrections, no other edits were made to the above photos.
Now, let’s have a look at the results of the blending techniques we’re discussing:
Technique One: Use the Underexposed Image
The following image is the ‘-3 EV’ photo that was edited in Lightroom to produce a well-balanced histogram.
Processed Underexposed Image
By increasing the overall exposure setting and adjusting the shadows and highlights of the sky and foreground separately using masking, a well-exposed image was created. It turns out that the shadow areas could be recovered, although they contained a significant amount of noise. However, that was resolved by using Lightroom’s Denoise feature.
Technique Two: Use HDR (High Dynamic Range) Software
I used the HDR Merge feature in Lightroom to merge the three original images and produce a new HDR image. The result looks very natural (very similar to the 0 EV photo). However, because the HDR image contains more data, I was able to recover the highlights and shadows further than any of the original photos. The following image is the resulting ‘HDR’ image of this process:
Processed HDR Image
The editing approach was very similar to the processing of the underexposed image and involved small changes to the global Tone settings and individual adjustments of the shadows and highlights of the sky and foreground using masking. One thing to be aware of is that Lightroom doesn’t automatically copy the adjustments of the original images to the new composite HDR image.
Technique Three: Blend Images Manually
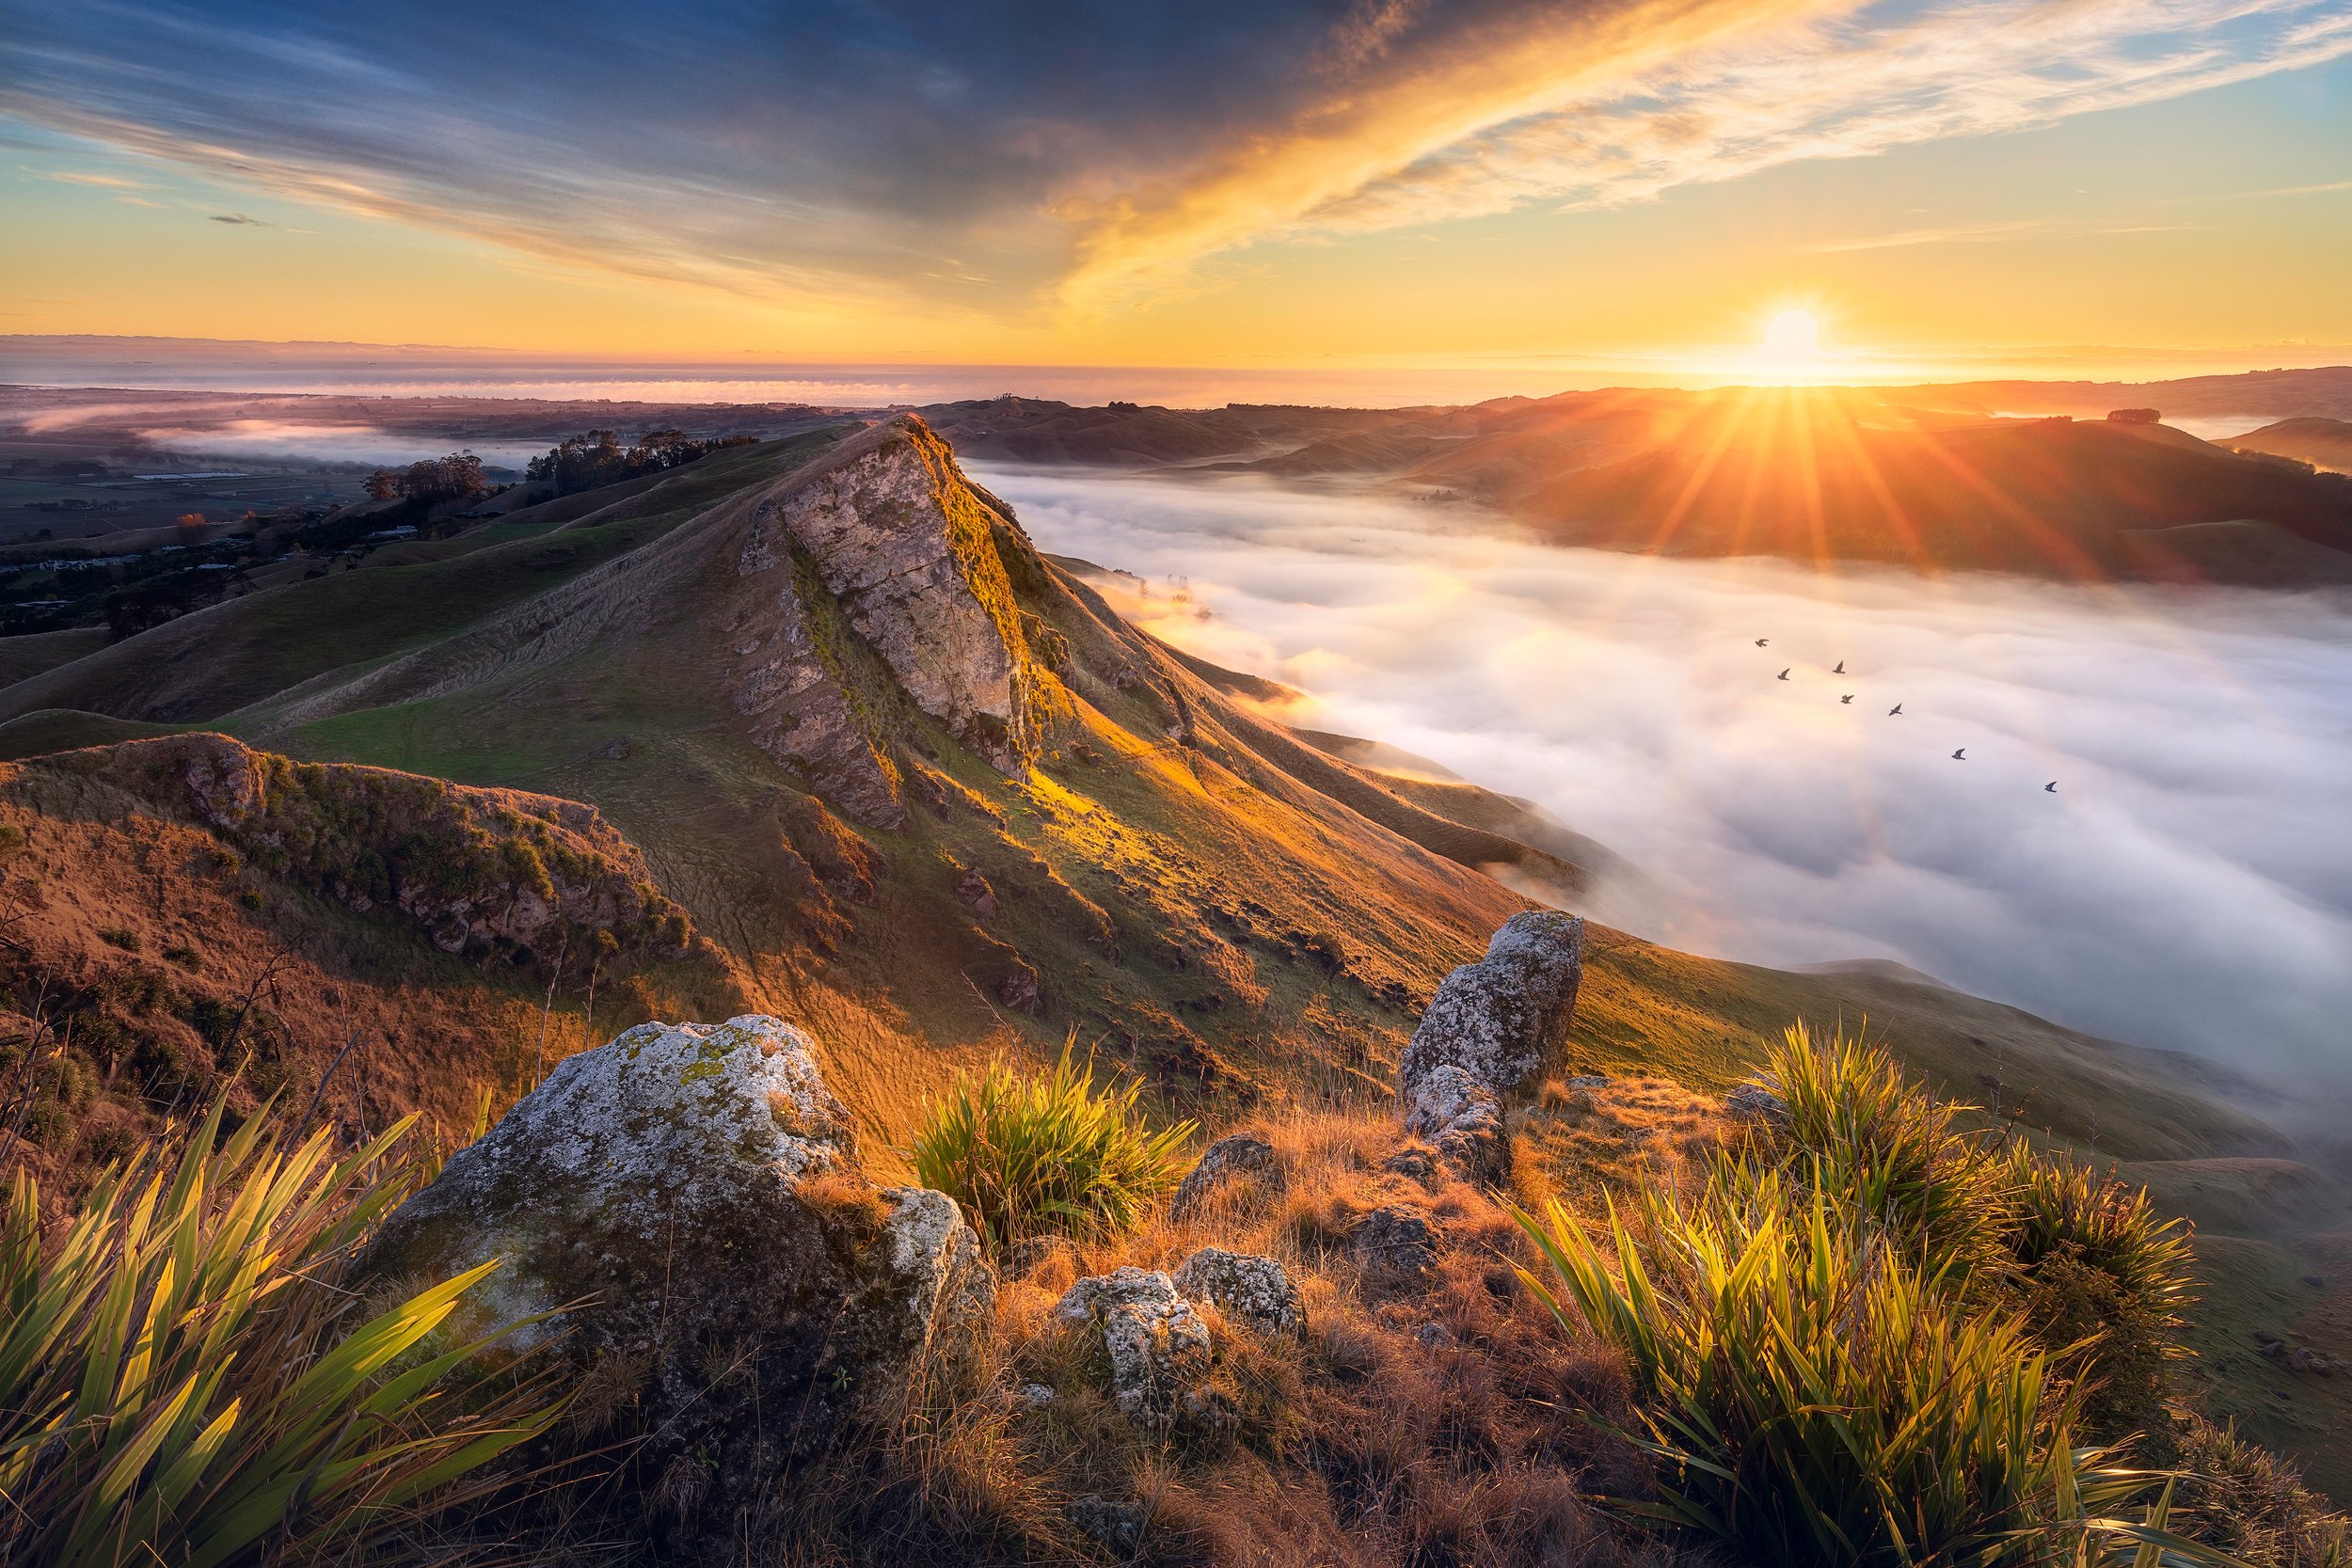
I prepared the -3 EV and 0 EV images to look like the images above to blend them together in Photoshop. I ended up blending in a small portion of the underexposed image to include highlight detail in the ‘base’ image (e.g. the sun). The image below is the result of this manual blending process:
Processed Manual Blend Image
If you look at the images above, you will not detect many differences (if any). Although they were created using different techniques, the images are virtually identical when viewing them on a 27” monitor at 2560x1440 resolution. So, either technique would be fine if all you want is to share your photo with friends or family, or share it on social media sites.
However, you’ll see differences when you look at them at 100%-200%. So, you’ll likely notice the differences when printing them on a large sheet of paper.
Specifically, these are the disadvantages of the techniques to be aware of:
Technique One: Use the Underexposed Image
There is usually (significantly) more noise in the shadow areas of the image when compared with images created with the other techniques. However, this can be reduced by using the Denoise feature in Lightroom (or another preferred noise removal tool). But be aware that even after reducing the noise from the image, there may still be a lack of detail/texture/sharpness in the underexposed image when compared with the manually merged image.
One of the benefits of using the underexposed image is that a faster shutter speed will have been used. This means that moving elements in the underexposed image (e.g. grasses and sheep) are not (or are less) blurry.
Comparison of Processed Underexposed Image at 200%
Technique Two: Use HDR (High Dynamic Range) Software
There is noticeable ghosting in the HDR image. You’ll notice that moving objects (e.g. grasses in the foreground and some sheep in the valley below) have become blurry due to the merging of multiple images. Also, the image appears a little bit softer overall.
Comparison of Processed HDR Image at 200%
Technique Three: Blend Images Manually
This image retained detail/texture/sharpness and there is no apparent ghosting.
However, you must ensure that the image area(s) you are blending are very close in terms of tone so that you don’t notice distracting differences in the blending area.
This technique facilitates other advanced image development techniques including focus stacking, which blends an image with a sharp foreground with an image with a sharp background. Thus, it is more versatile than the other two.
Summary
Below follows a summary of the exposure stacking techniques:
Use the Underexposed Image
| Image Quality: | Good, but possible high noise |
| Preparation Effort: | Low |
| Skill Level: | Intermediate |
| Tools: | Lightroom with Denoise function |
| File Format: | Original RAW file |
| Further Processing: | No need to re-apply adjustments. Further adjustments can be made in Lightroom. |
Use HDR Software
| Image Quality: | Good, but possible ghosting |
| Preparation Effort: | Low |
| Skill Level: | Intermediate |
| Tools: | Lightroom with HDR Photo Merge function |
| File Format: | New DNG file |
| Further Processing: | Adjustments to the original images must be re-applied. Further adjustments can be made in Lightroom. |
Blend Images Manually
| Image Quality: | Best |
| Preparation Effort: | Highest |
| Skill Level: | Advanced |
| Tools: | Lightroom and Photoshop |
| File Format: | New TIFF file (or other Photoshop format) |
| Further Processing: | No need to re-apply adjustments. Further adjustments can be made in Lightroom or Photoshop. |
I should reiterate that unless you look at exposure-stacked images closely, you are unlikely to see any differences between them. It only becomes noticeable if you’re pixel-peeping and view them at high magnification. They will all look very similar when you publish them to the web. However, you will see the difference if you print them on a large sheet of paper.
Conclusion
Combining exposure-stacked images often creates an image with a wider range of tones and details. It’s particularly beneficial for high-contrast scenes, such as a scene that includes a bright sun.
However, it is not always necessary to combine images, and you should check their histograms to determine whether exposure stacking could be beneficial.
There are three exposure stacking techniques described in this article, each one with its unique pros and cons. These techniques are:
Use the underexposed image
Use HDR (High Dynamic Range) software
Blend images manually
The best technique depends on the scene you have captured, but all of them usually deliver good results. Blending images manually is the most versatile technique, but it also requires the most effort, tools and skills.
Personally, I typically manually blend the images, and don’t spend too much time figuring out which exposure stacking technique is the best for the given set of bracketed images, because I like to keep my workflow consistent, aim for the highest quality (yes, I am a pixel-peeper), and I usually end up editing the image in Photoshop anyway at some point during the post-processing process.
Liked this article? Share it or leave a comment below.
Enjoyed this guide?
Subscribe to my newsletter for more Lightroom tips, editing tutorials, and behind-the-scenes insights from my photography journey.


In this article, I provide some tips to not only enjoy, but also improve your chances of capturing great images in an unfamiliar landscape.